This article will provide information on how to use the Driver app. Important reminders before using the driver app:
- Make sure that WIFI is turned OFF.
- Ensure that Cellular Data is turned ON.
- Ensure that Location Services is turned ON.
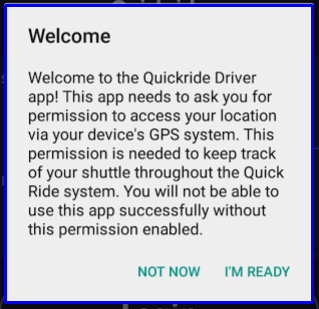
- The Driver app will also need to access your device’s GPS thus will ask your permission to access your location. GPS will help track the shuttle through the Command Center.
Steps in using the Driver App:
1. The Driver needs to download the app first from Google Play or App Store.

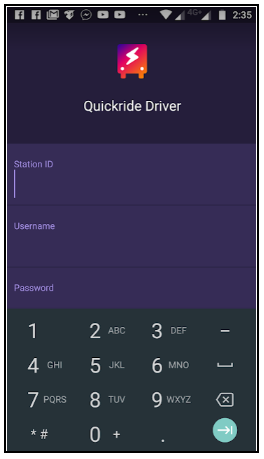
2. After downloading the app, the Driver will be prompted to log-in using Station ID, Username and Password.
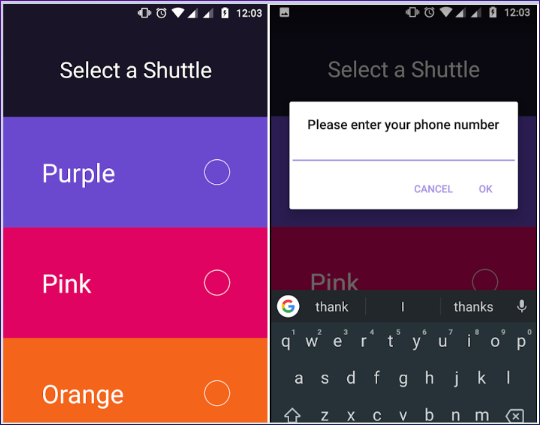
3. The Driver will then be prompted to select a Shuttle color.
Unlocking Shuttles:
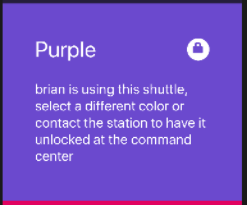
- If a particular color is locked, it means that another driver has taken that spot.
- In case the shuttle needs to be unlocked, it can only get requested thru the Command Center. Drivers no longer have the capability to unlock other shuttles. Locking the shuttle prevents accidentally logging out of Drivers.
- There are only six colors to choose from. If a dealer has more than six shuttles, it will cycle back to the first color. and so forth for the succeeding shuttles.
4. The Driver will get prompted to put his name to lock the available shuttle under his name.
Unlocking Shuttles:
The Driver won’t be able to release a fellow Driver from the driver app. As an added security, only the one with access to the Command Center can unlock a shuttle driver.
5. When a ride request has gets created, this will show up on the Shuttle Driver’s queue. The system will automatically assign the ride to the available Driver based on Quickride’s algorithm.
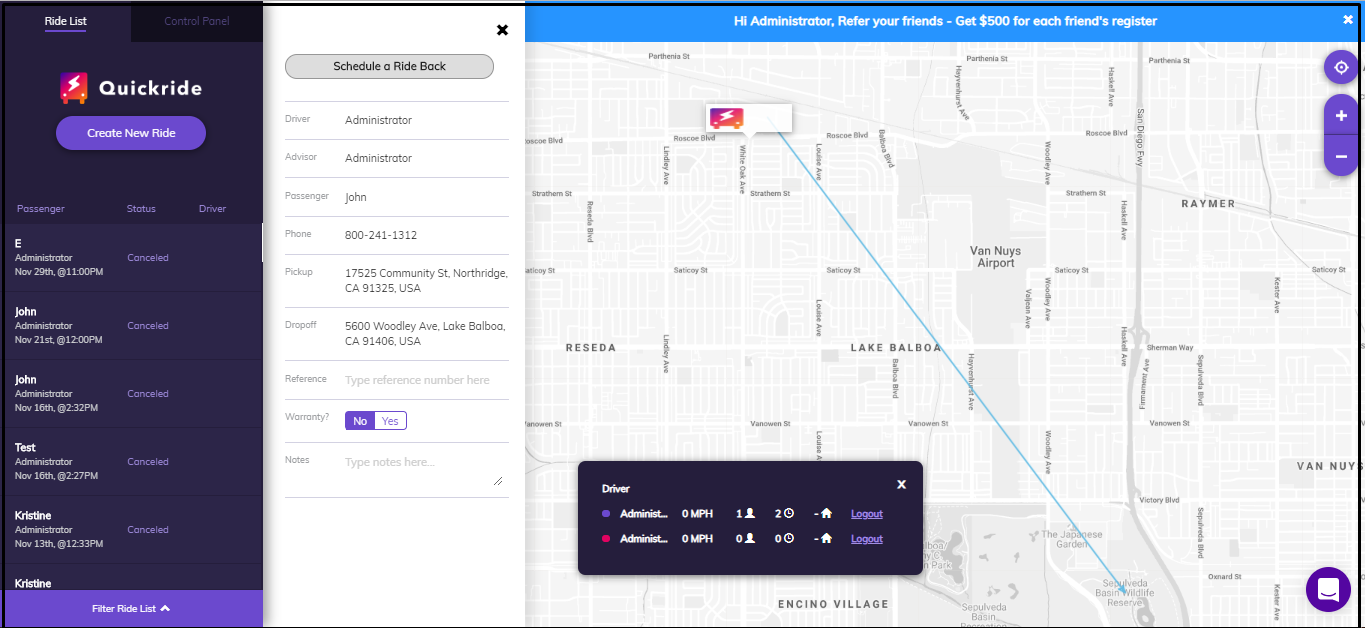
6. Once the ride request gets assigned to the Driver, the Driver will see the passenger information on his app.
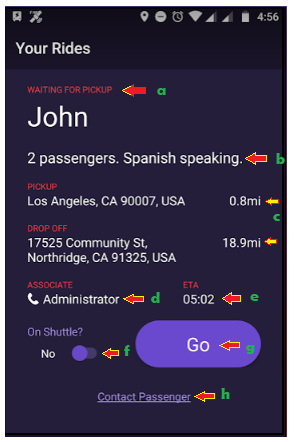
a. The ride status will get updated on the top of the ride request.
b. The notes that the Service Advisor will place as additional information
about the Passenger gets placed here.
c. The distances from the station or to the passenger location get computed
here.
d. The Driver can call the Service Advisor who created the ride request.
e. The app calculates the estimated time to reach the passenger.
f. The Driver needs to mark the ride if the passenger is physically on the
shuttle.
g. Once the Driver is ready to travel to the passengers’ location, they need to
click on Go so that the navigation screen will appear.
h. If the Driver needs to get in touch with the passenger, the Contact
Passenger will give the Driver option to call or text the passenger.
7. For multiple ride request, the driver can choose which passenger to pick-up first. He can decided which route is more efficient to take based on his current location and distance to the dealership.
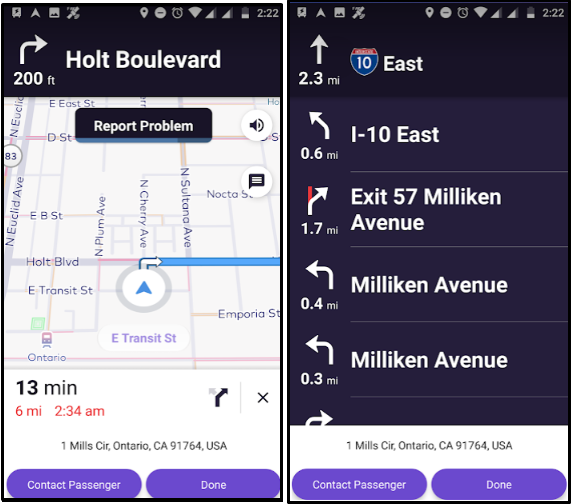
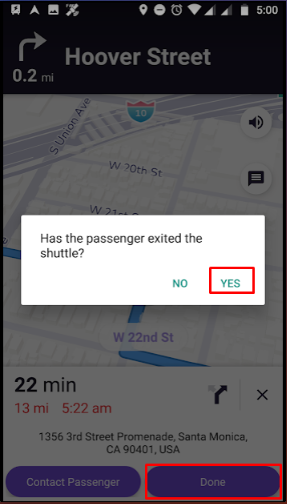
8. Once logged in, the Drive will also have a map to provide detailed instruction on how to reach and bring the passenger to its desired location. Upon reaching the destination, the driver needs to mark the ride complete to close the ticket and proceed with to the next customer.
Whether the Driver is picking up or dropping off a passenger the information on shuttle location is updated real-time. When a new ride gets assigned, the Driver will also receive a notification of the ride making sure that every request made is completed by the Driver.
In case you are experiencing issues or latency with the Command Center or the Driver app. You can check our troubleshooting tips. Just click here.